French artist Paul Gauguin (1848 – 1903) used monoprinting to created beautiful works of art. Most were not acknowledged in his lifetime but I had the opportunity to try his technique.
The workshop I attended was run by Brisbane Botanic Gardens Mt Coot-tha. Everyone met at the BCC Library and then walked down to the activity room. Our instructors were Frances and Lee-anne and their introduction covered the evolution of Australian native plants, the background to Gauguin’s work and monoprinting. A monoprint is a one-of-a-kind print that forms part of a series.
It was a two-hour class with about twelve people and we were itching to get started. We couldn’t wait to peruse the beautiful and aromatic array of Australian native plants ready to make our imprints.
Here is my quick overview

Beginners Guide to Monoprinting
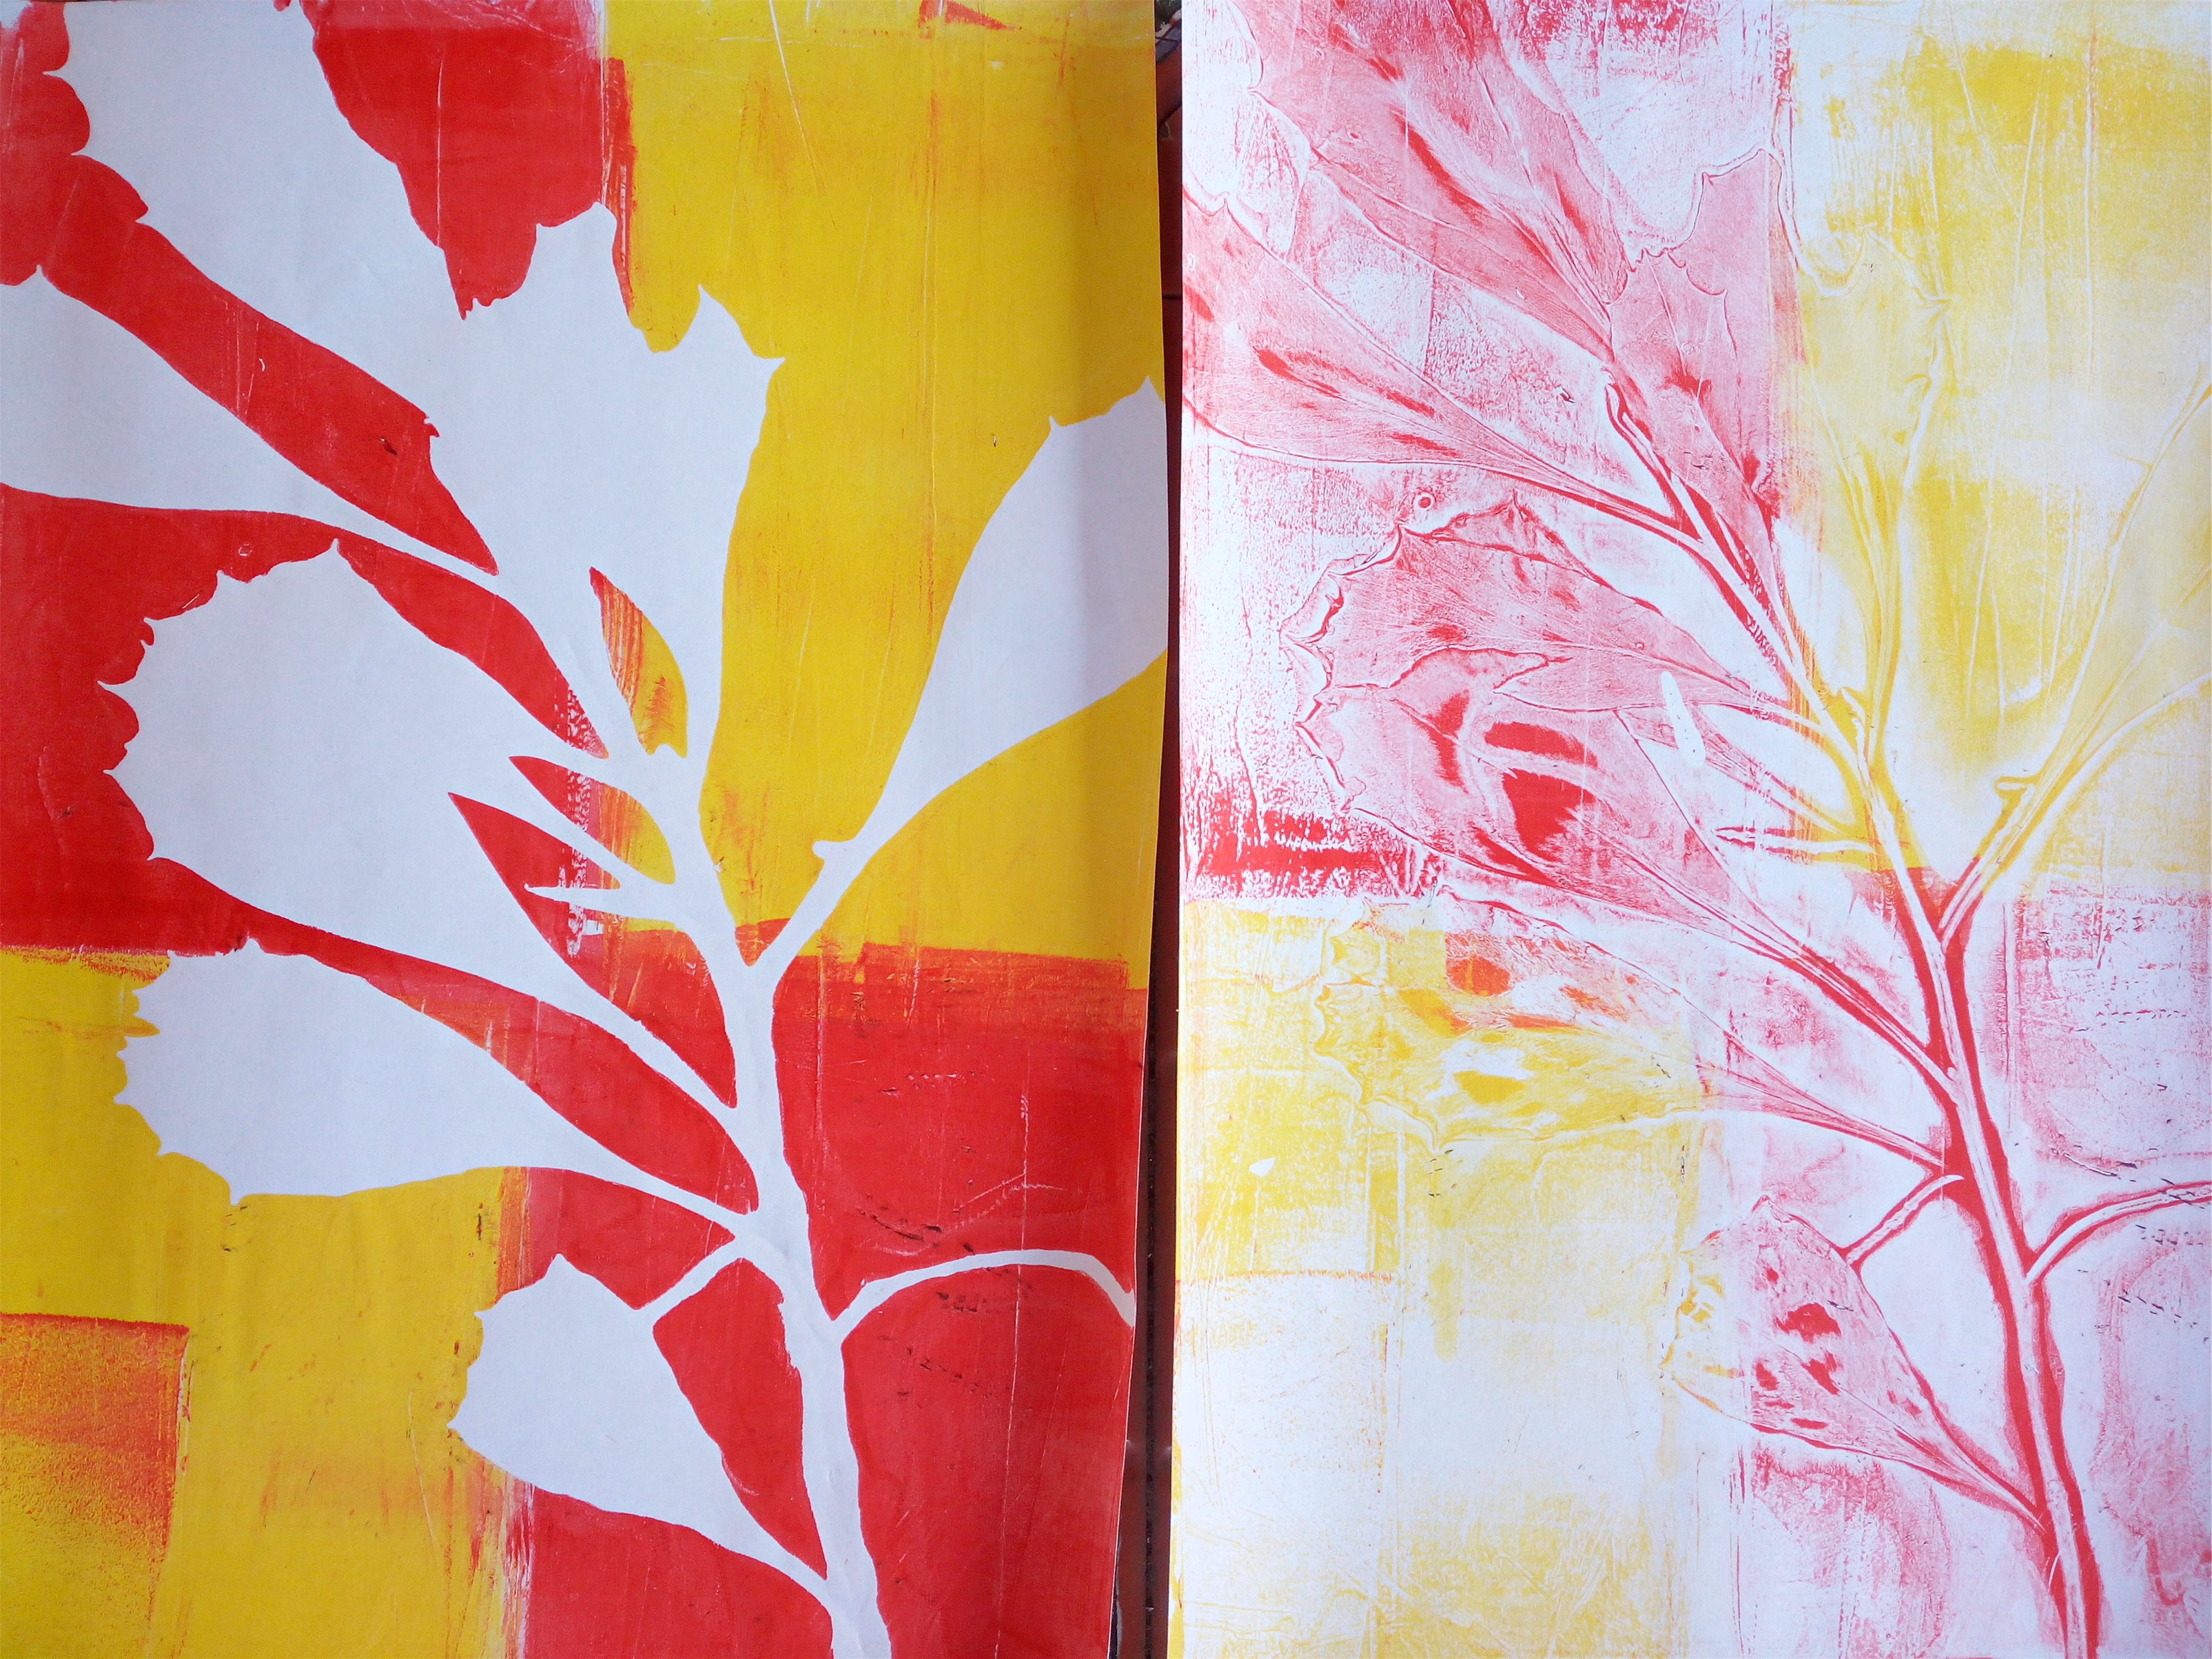
- You may have read that monoprinting is an age-old printmaking method which produces a single image. I’d have to say that is only partially correct – the image can be reversed or added to several times, each time producing a different image. (See my coloured prints above).
- I rolled out four paint blobs (yellow and red) on an acetate pad, added a leafy tree branch and a clean sheet of paper on top before smoothing it out flat. Peel off. Two for the price of one! I placed ferns and leaves with the branch, added fresh paper on top, pressing down hard. I reversed the procedure and did ‘mirror’ images.
- You may have heard that you need lino or woodcarving tools. I used a wooden chopstick to press and draw my B&W designs. There were several which didn’t make the grade and I tried to choose the better ones. (See my black and white prints below).
- It is thought that you need to work on a glass plate or gel plate, but a sheet of tough plastic (clear heavy acetate) works well with monoprinting paints and is easy to clean. Of course, you can upscale your equipment when your hobby turns into a money-making enterprise.
- A special roller isn’t really necessary to spread the paints, you can use a small rubber roller with a plastic handle. No flattening press needed. Once the overlay paper is in place, you can use your hands to smooth the paper flat, or add background patterns through the paper with the tips of your fingers.
- Pigmented paints and printing inks produce colours which look great but the traditional black-and-white looks dramatic. I didn’t achieve any depth to my work but the middle black-and-white print (below) is reversed and the hatching in the background was done with the backs of my finger nails.
- We ran out of time and I would have loved to have dabbled more. The free class I attended supplied the equipment – plus afternoon tea – and the paper used was office A4 size. It was porous enough and strong enough to take my amateur efforts.

The trick is to work fast, especially in Queensland temperatures, because the paint will dry quickly. Drying caused one of my prints to have a ghostly quality. That was part of the fun – the results were often a surprise.
Monoprinting is a forgiving and flexible technique, experimental yet satisfying, and several participants achieved a pleasing degree of botanical detail worth framing.
♥ Gretchen Bernet-Ward
